How to Get Rid of Weeds Without Using Chemicals
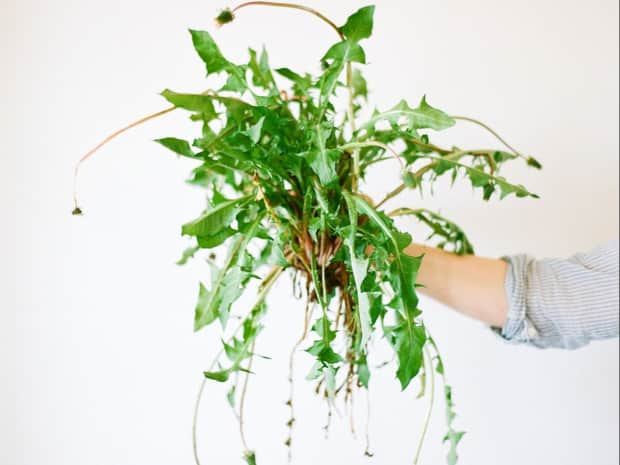
Tired of weeds threatening your lawn, veggies, or flowers? Learn how to get rid of weeds the natural way using things you probably already have in your pantry.
Read More


Last Updated: May 25, 2022
From the best herbs to the top gardening tools, we cover everything a beginner needs to start an indoor or outdoor herb garden.
Picture this: It’s a balmy summer evening, and you’re on the patio eating tacos covered in fragrant cilantro you plucked straight from your garden. And that mint julep you’ve been sipping on isn’t any run-of-the-mill cocktail — you made it with fresh pineapple mint that’s been growing on your windowsill. The birds are chirping, the sun is setting, and life is good.
If this sounds like the type of scenario you want to find yourself in, you’ve come to the right place. Whether you’re a green thumb, greenhorn, or green with envy over your neighbor’s lush yard, we’ve got everything you need to know to start an herb garden – plus tips and tricks to get the most out of your bounty.
Let’s start with the basics. We’ll cover the merits of indoor and outdoor herb gardens, whether plants or seeds are best for beginners, and the optimal time of year to start your garden.
Indoor and outdoor herb gardens are both great for novice gardeners — what it really comes down to is how much space you have. Apartment dwellers and those with balconies are going to focus on indoor gardening, while folks with backyards have the luxury to pick and choose.
Whether you choose plants or seeds depends on how much effort you want to put in, and how many herbs you plan to grow.
Plants, also called transplants, are a good choice for people who only want to grow a few herbs, or folks who don’t want to wait weeks while their seeds sprout. Transplants are garden-ready, take minimal effort to start, and grow quickly.
Seeds are a bit more time consuming to grow, but they’re an inexpensive way to get a ton of herbs if you have a lot of space to devote to your herb garden. Seed mixes are a boon for people with limited space because you can grab specialized blends that contain all the herbs you need to grow fresh herbs for your favorite dishes.
Dirt matters! Herbs require well-draining soil, lest their roots become bogged down by too much water. The best soil for indoor and outdoor gardens needs to have a good mix of peat moss, coco coir, or microorganisms to help plants get the nutrients they need, give their roots room to breathe, and maintain a healthy amount of water. Adding a bit of homemade compost to any type of soil can add an extra boost of nutrients that’ll help your herbs grow big ‘n’ strong.
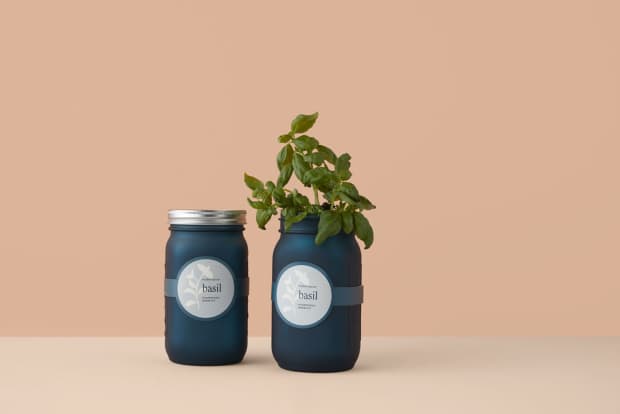
The type of herbs you grow depends on what you like. Grow kits make it easy to decide, and they’re super easy to house indoors (we should know — we tried it!). Check out our favorite grow kits for fresh herbs and good vibes:
Don’t worry, if grow kits aren’t your speed, peep our list of beginner-friendly herbs for your maiden voyage. Annual herbs are one-and-done — plant ‘em for the season and then they’re gone. Perennial herbs come back season after season, so if you know you want a particular herb every year, pick it from this list.
Certain groups of herbs have similar gardening needs. Here’s a list of herbs that grow well together if you plan on growing multiple herbs in one pot.
GROVE GARDENING TIP
Always plant mint alone and in a pot — even if you’re growing herbs outdoors. Mint is a mega-spreader, and all types of mint have a tendency to crowd out any neighboring plants. It’s a fast grower, so harvest when you need to – and pluck flowers as they appear, but let a few stems keep their flowers for pollinators.
You can start an indoor herb garden anytime of the year — as long as you have access to plants, that is. If it’s fall or winter and you need to start an herb garden now, your best bet is picking up a pack of seeds or a grow kit. Most herbs like the same temps we do — between 65 - 70 degrees fahrenheit. Chances are if you’re comfy, your herbs are, too.
The hardest part of growing herbs indoors is finding a spot that gets enough sunlight. Herbs love the sun and need at least 6 to 8 hours of sunlight everyday, so pick a south or west-facing window. These windows get the most sun and they’re the hottest; a major plus for heat-loving herbs.
Grab your trowel and load your pots up with either an indoor or all-purpose potting mix. Leave about 1/2 inch of space between the soil and the top of the pot.
If you’re transplanting your herbs, gently break up the soil around the roots, then insert the plant into the soil. Pack soil around the base of the plant so that it’s securely ensconced below the dirt.
Growing is thirsty work. Check your indoor herbs daily — when the topsoil is dry, it’s time to water.
You can use anything sharp to harvest your herbs, but we love a good set of pruning shears to get the job done.
GROVE GARDENING TIP
Did you know you can use green onion scraps to grow more? Take the ends of your green onions — the white bit with the little roots dangling — and place them in a glass with enough water to cover them. Set it on your counter, and in a few weeks you’ll have fresh green onions that are ready to eat.
If you’re growing herbs from seed, start your seeds 5 - 10 weeks before transplanting. The best time to plant herbs is in spring, after the danger of frost has passed. But remember that frost dates vary by zone.
Pick a sunny spot for your herb garden. Most herbs need 6 - 8 hours of full sunlight a day in order to thrive. Got a shady yard? Mint, parsley, and cilantro can grow with 3 - 4 hours of sun.
Using a trowel, fill your pots or raised garden bed with quality soil. You can plant your herbs directly into the ground, but using raised beds or pots ensures they’ll be growing in top-notch soil.
Loosen the dirt around the roots of your plants before you transplant them to give ‘em room to spread. Gently pack more soil around the base of the plant to give it stability in the soil.
It’s a good idea to check the growing instructions for your herbs, but most outdoor herbs need consistently moist soil. Water your herbs every 3 - 7 days or as needed to keep the soil damp but not saturated.
A pair of pruning shears is the best way to get a clean cut for your herbs, but a sharp knife or kitchen scissors will also do the trick in a pinch.
GROVE GARDENING TIP
Herbs are botanical drama queens — too little sun, and they won’t grow. Too much sun, and they dry out. Even if you’ve got raised beds or enough ground space to plant your herbs, consider growing them in pots. This allows you to move them out of the sun on long summer days, or into a sunny patch if the clouds decide to take over half your garden.
Your herbs are thriving — now what? Harvest your herbs and keep your garden productive with the “cut and come again” technique. The idea is simple: grab a sharp knife or a pair of pruning shears, and cut away four- to six-inch stems from the outside of the plant — these are the ‘mature’ leaves. Use them to cook, pop ‘em in summer cocktails, or dry them for later. Cutting the mature leaves creates room for younger leaves to grow and helps your plant stay bountiful for longer.
Drying herbs is a traditional method to preserve your harvest and enjoy fragrant, flavorful herbs all year long.
To start, gently wash your cuttings to remove dirt. Pull off any dead leaves to discard or compost them.
Once your bunch is clean, loosely tie the stems together with a piece of twine, a yarn scrap, or even a rubber band.
To keep dust and debris from gathering on the herbs, place them in a small paper bag with the stems jutting out. Poke holes in the bag to provide air flow, then hang the bag in a dry, shady area for about a month.
Once the leaves are dried out and frail, crumble them with a mortar and pestle or with your fingers. Scoop the powder into spice jars et voila!

Tired of weeds threatening your lawn, veggies, or flowers? Learn how to get rid of weeds the natural way using things you probably already have in your pantry.

We’ve all heard that houseplants help purify the air in your home. But is it true? Follow along as we dig deep to clear the air on houseplants once and for all.

Are you working on your green thumb? Well, with this guide you’ll at least understand the differences between gardening with soil vs. dirt. Read on!

Plagued by poor potting soil mixes and lackluster growing seasons, Good Dirt founders Al and Suzy Newsom ventured out to create a sustainable gardening brand that’s good for your plants and for the planet.