
8 Tips for Cleaning Nonstick Pots and Pans Naturally
To get the most out of your nonstick, read on to learn how to clean Teflon pans quickly and naturally.
Read More

Last Updated: June 2, 2022
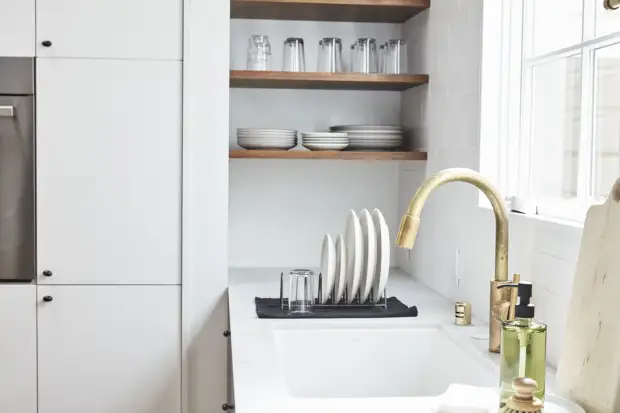
Does cleaning your kitchen cabinets have you overwhelmed? Don’t worry! We’ve got an easy step-by-step guide and tips to keep your kitchen cabinets clean and bug-free.
Kitchen cabinets really take a beating. Grease from cooking, dust buildup, food crumbs, and sticky finger prints leave your swanky cabinets looking dingy and lackluster. Definitely not the vibe we’re going for!
Even worse, the heat from cooking will make the grime on your greasy cabinets thicker and tougher to remove the longer you let it linger. As for those food crumbs? Let ‘em accumulate for long enough, and you’ll find yourself with a flour bug invasion. Thanks, but no thanks.
Read on for the best way to clean your kitchen cabinets with our step-by-step guide and a few natural products you’ve already got on hand.

We recommend dividing your kitchen cabinet cleaning into two phases — outer surfaces weekly and inner surfaces seasonally.
Every week: Set aside some time to give the outside of your cabinets a good wipe-down — especially if you cook a lot. If you can’t get to ‘em every week, aim for every two weeks.
Every three months: Tackle the inside of the cabinets. Throw away expired food, vacuum up the crumbs, and clean the shelves to keep unwanted pests from setting up shop in your kitchen.
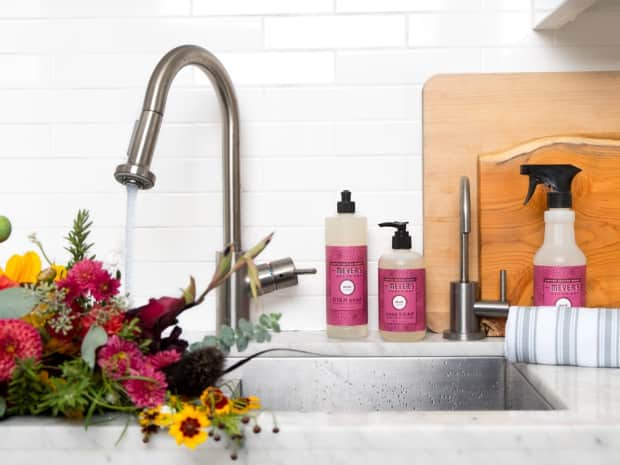
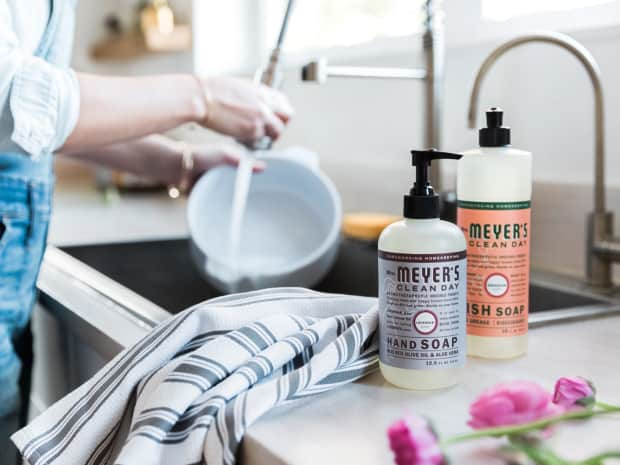
In a bowl, mix a cleaning solution of liquid dish soap and warm water. This solution removes food smudges and grease from painted wood, plastic laminate, metal, and vinyl cabinets — all-purpose cleaner works, too! Dip a clean microfiber cloth in the cleaning solution and work your way from the top of the cabinets to the bottom.
Use a dry cloth to wipe the cleaning solution away. Make sure the cabinets are thoroughly dried to prevent excess water from warping the wood or damaging the paint job.
Spray your glass cleaner onto a paper towel or clean cloth and wipe the front and back of the glass cabinets. Avoid spraying glass cleaner directly as it can damage the wood and other parts of your kitchen cabinets.
With all-purpose spray or a spray bottle filled with one part water to one part vinegar, spray the knobs, pulls, and handles on your cabinets and wipe them clean with a microfiber cloth.
If your cabinets have a yellowy buildup of grease, mix a past of 1/2 cup water with 1/2 cup baking soda. Use the toothbrush or an abrasive sponge dipped in the paste to scrub the greasy areas. Depending on how thick the grime is, you might need to repeat this step a couple of times to completely clean your cabinets.
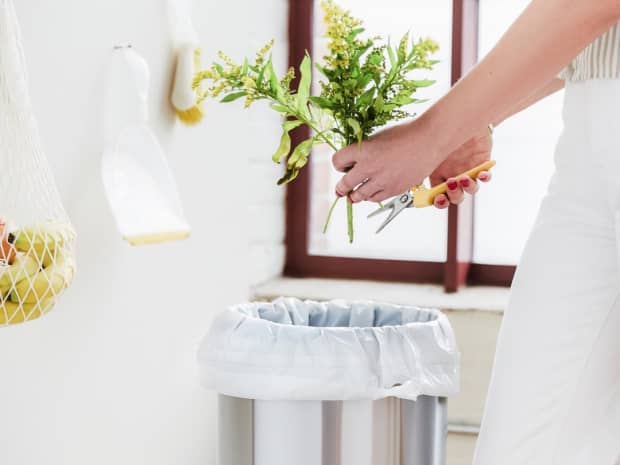
Start from the top shelves and work your way down. As you remove all your foodstuffs, toss any expired items and torn shelf lining.
With the hose extension of your vacuum, suction up any food crumbs and debris that’ve been lurking on your cabinet shelves.
Refresh your bowl of warm water and dish soap and clean the shelves with a microfiber cloth dipped in the soapy mixture. Use a new wet cloth to rinse the shelves after you’ve cleaned them, then dry the shelves thoroughly to prevent water damage. Lay out new shelf lining if needed.
Round up all those glass jars and plastic containers that have a vaguely sticky, dusty coating and wipe them down using a cloth soaked in warm water. Once the contents of your cabinet are clean, put everything back and admire your handiwork.
Grove Tip
It’s tempting to let spills in the cabinet dry up on their own — out of sight, out of mind, right? Try to clean up any spills as soon as they happen to keep your cabinets clean between washes. This’ll also make the cabinets easier to wipe down when cleaning day comes around.
Ready to tackle the dirtiest spots in your home? Grove Collaborative has you covered with Clean Team. Each week, we’ll do a deep dive into how to clean a different place or item in your home. No spot is too small — and we’ll tell you how to conquer them all, naturally.
To get the most out of your nonstick, read on to learn how to clean Teflon pans quickly and naturally.
If you’re tired of your garbage disposal smelling funky, read on to learn how to clean a garbage disposal the right way.
If it’s been a minute since you’ve cleaned or disinfected your garbage can, here’s everything you need to know about how to clean it.
We'll show you the eco-friendly way to wash dishes with techniques that make washing dishes faster, easier, more hygenic, and more sustainable.